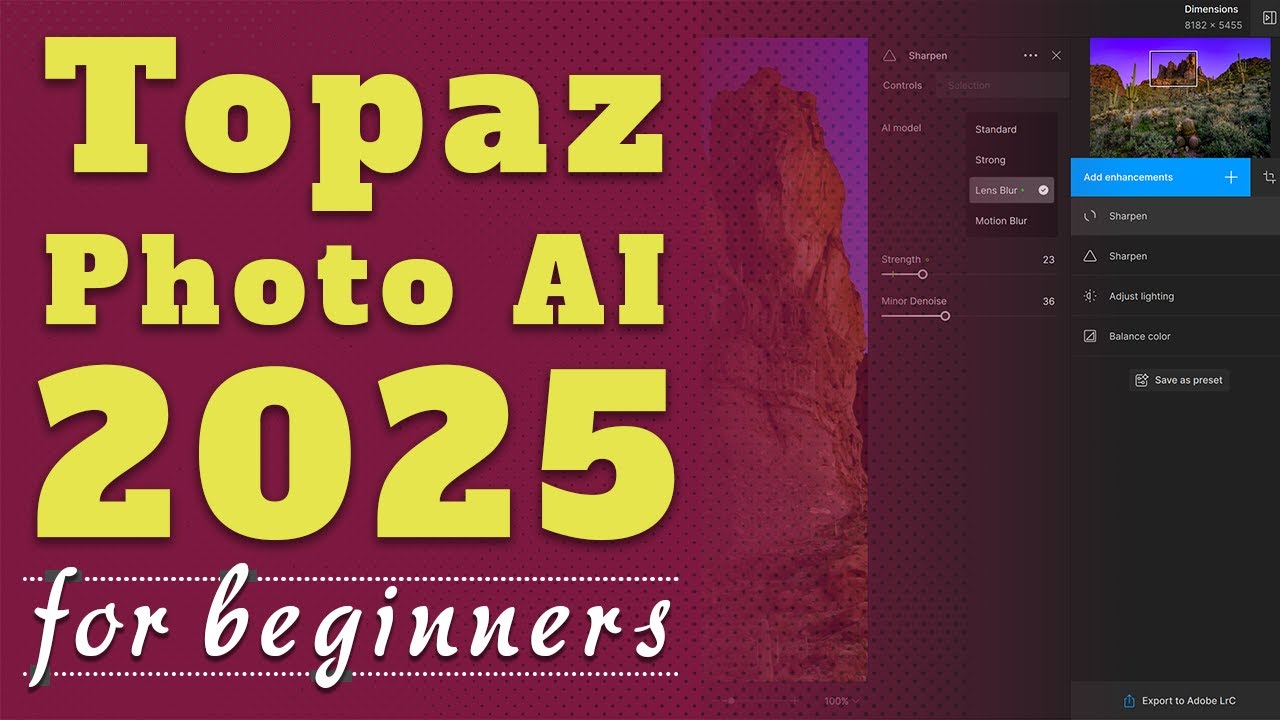
Topaz Photo AI 3 Complete Guide for Beginners
Education

Introduction
Welcome to the Topaz Photo AI version 3 complete guide. In this guide, you'll learn everything you need to know to maximize its potential. From using Topaz Photo AI as a standalone app or as a plugin in various editing software to exploring its rich array of features, this guide has got you covered. Detailed instructions catered to both novice and advanced users make it easy to get the most out of this powerful photo editing tool. To save you time, I’ve included timestamps in the description and some pro tips at the end for customizing Topaz Photo AI to meet your specific needs.
Getting Started with Topaz Photo AI
Standalone App and Plugin Integration
Topaz Photo AI can be used both as a standalone application or as a plugin within popular editing software like Photoshop, Lightroom, Affinity Photo, and more. In standalone mode, you can drag and drop images or browse files directly. The interface is user-friendly, featuring recent files on the right side for easy access.
Using Topaz Photo AI as a Plugin in Lightroom Classic
Open Images: Access Topaz Photo AI by selecting images, right-clicking, and choosing "Edit In" followed by "Topaz Photo AI."
File Formats: You have options like TIFF, JPEG, and more. For best quality, it's recommendable to use TIFF with settings for color space, bit depth, resolution, and compression.
File Size Considerations: While JPEG files are smaller, TIFF files offer more accurate colors and eliminate imperfections like color banding. JPEG conversion may create issues, especially when removing noise and sharpening.
Interface Overview
Interface Layout:
- The main image occupies the majority of the interface. You can collapse the right panel via the icon at the top right.
- The bottom panel offers batch processing and other workflow tools.
- Manual adjustments can be turned from green (autopilot) to white.
Navigation and Zooming:
- Zoom slider and navigator window help in viewing and editing different parts of the image.
- Before and after previews are available through various methods like side-by-side comparisons or a sliding bar.
Autopilot and Manual Enhancements
Autopilot: Automatically analyzes and applies the appropriate settings for denoise, sharpening, and more. It’s ideal for most use cases, including wildlife and landscape photography.
Manual Adjustments:
Denoise: Noise removal options include color noise and luminance noise. Fine-tune settings to preserve details and balance noise reduction.
Sharpen: Four AI models (Standard, Strong, Lens Blur, Motion Blur) tailor the sharpening process to your needs. Use the brush tool for precise editing.
Light and Color: Adjust exposure and white balance, though it’s recommended to do these in your primary editing software first.
Upscale: Enhance low-resolution images. Supports manual adjustments up to 6X for both high-res and low-res files.
Recover Faces: Improves faces in photos, especially in low-res files.
Text Enhancement and Object Removal: Enhance text and remove undesired objects manually with robust masking and brush tools.
Customizing Preferences
Speed up your workflow by adjusting preferences:
- Face Detection: Turn off if not needed to improve performance.
- Noise Reduction Levels: Set according to the severity of digital noise.
- Default Sharpening Models: Choose the preferred model for most frequent use.
**Saving and Using Presets:** Create and save presets to quickly apply preferred settings across images.
FAQ
Keywords:
- Topaz Photo AI
- Denoise
- Sharpening
- Preferences
- Autopilot
- Batch Processing
- Masking
- Lightroom Plugin
FAQ:
Q: How can I use Topaz Photo AI as a standalone app? A: Drag and drop images onto the interface or browse for files. The recent files panel provides quick access.
Q: What file format should I use for the highest quality? A: TIFF files are recommended for their superior color accuracy and fewer imperfections compared to JPEGs.
Q: How do I access Topaz Photo AI as a plugin in Lightroom Classic? A: Right-click the selected images in Lightroom, choose “Edit In,” and then select Topaz Photo AI.
Q: What is the purpose of the autopilot feature? A: Autopilot automatically analyzes your image and applies recommended edits like noise reduction and sharpening.
Q: Can I customize the default settings to speed up my workflow? A: Yes, go to Preferences/Settings and adjust default settings based on your specific photography needs. You can also create and save presets.
Q: How do I batch process images in Topaz Photo AI? A: Use the bottom panel to access batch processing features. Apply settings to one image and copy them to others in the batch.
Q: What are the benefits of using the mask tool? A: The mask tool allows you to apply specific edits to targeted areas of an image, giving you greater control and precision in your edits.

