Transform Your Photos with AI: Easy Flux Fine-Tuning & LoRA Guide
Gaming

Introduction
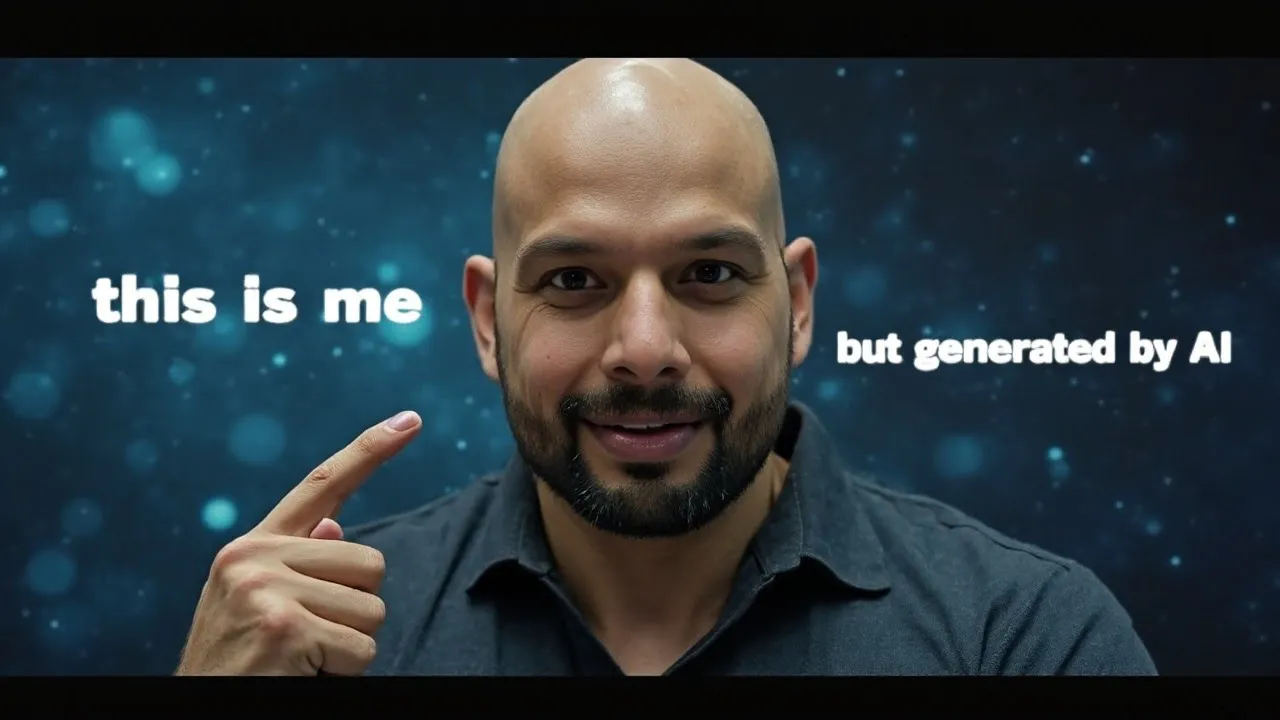
Welcome to the world of AI fine-tuning! In this article, we'll explore how to harness the power of the Ostrich AI toolkit to create stunning, realistic images using your own fine-tuned AI model. Get ready to embark on an exciting journey that includes generating awe-inspiring visuals, just like a glamorous vacation photo—no passport needed!
Getting Started with AI Model Fine-Tuning
Before diving into the setup, let's acknowledge the tools needed for fine-tuning. The Ostrich AI toolkit is an amazing resource designed to simplify the process without starting from scratch. To fine-tune an AI model, you will need:
- Python 3
- NVIDIA GPU (at least one 3090 recommended)
- Git access for cloning repositories
- A virtual environment to manage your packages
To kick off, we'll clone the repository of the Ostrich AI toolkit. Head to your preferred folder in your remote server and run the command:
git clone <repository-link>
After cloning, change to the newly created directory and update the submodules:
cd ai-toolkit
git submodule update --init --recursive
Next, activate your virtual environment. You can set it up via either conda or venv. Once activated, you will need to install PyTorch and other necessary packages from the requirements.txt file.
pip install torch
pip install -r requirements.txt
Dataset Preparation
A crucial step in fine-tuning your AI model is creating a dataset. Your dataset should consist of images and corresponding text descriptions (captions). Each image will have a text file with the same name, describing its content and the essence of what you want the AI to learn.
- Prepare a folder with JPEG images (ideally 1024x1024 pixels).
- Create a text file for each image, replacing the name of the person in the description with a unique trigger word, e.g., "trigger."
Aim for at least 10 to 20 images for optimal results. Once your dataset is ready, keep the folder path handy—you'll need it for the configuration section.
Configuration Setup
The next step is modifying the configuration files for fine-tuning. Navigate to the config folder and copy an existing example configuration file to use as a template:
- Rename it appropriately (e.g.,
my_model.yaml). - Edit the file to specify your dataset path, trigger word, model type (e.g., LoRA), and other parameters.
Key configurations include:
- Model Name
- Training Type (e.g., SD trainer)
- Data Path
- Device and GPU details
- Lora settings
Once your configuration file is in place, you’re ready to start the fine-tuning process!
Beginning the Fine-Tuning Process
To initiate training, run the following command in your terminal:
python run.py --config-path <path-to-your-config-file>
You'll see outputs indicating the training process, which may take around an hour depending on your setup.
Utilizing Your Fine-Tuned Model with ComfyUI
Once the fine-tuning completes successfully, you'll have a new LoRA checkpoint file ready for use. You can integrate this file into ComfyUI to generate images based on your fine-tuned model.
Move your checkpoint to the appropriate "lora" directory within ComfyUI. From here, load the model and use corresponding prompts that reflect your fine-tuning parameters. You can combine multiple LoRA models as needed to further enhance image generation.
Conclusion
The power of AI fine-tuning is now at your fingertips! By following these steps, you can transform your photos into captivating works of art using the Ostrich AI toolkit. Keep experimenting and have fun as you create stunning visuals with your personalized AI model.
Keywords
AI, fine-tuning, Ostrich AI toolkit, Flux model, LoRA, dataset creation, ComfyUI, NVIDIA GPU, training configuration, image generation.
FAQ
Q: What do I need to start fine-tuning my AI model?
A: You need Python 3, a compatible NVIDIA GPU (preferably 3090), Git access, and a virtual environment.
Q: How many images do I need for my dataset?
A: It’s recommended to have at least 10 to 20 images for effective fine-tuning.
Q: What is the purpose of the trigger word in the text file?
A: The trigger word replaces the name or subject in the text descriptions, allowing the model to learn specific details about the subject during training.
Q: How long does the fine-tuning process take?
A: The fine-tuning process typically takes about an hour, depending on your hardware configuration.
Q: How can I use my fine-tuned model?
A: You can load your fine-tuned LoRA checkpoint into ComfyUI to generate images based on prompts that reflect your custom training.

