

VRChat Avatar 3.0 Tutorial - Adding Facial Expressions to your Avatar
Howto & Style
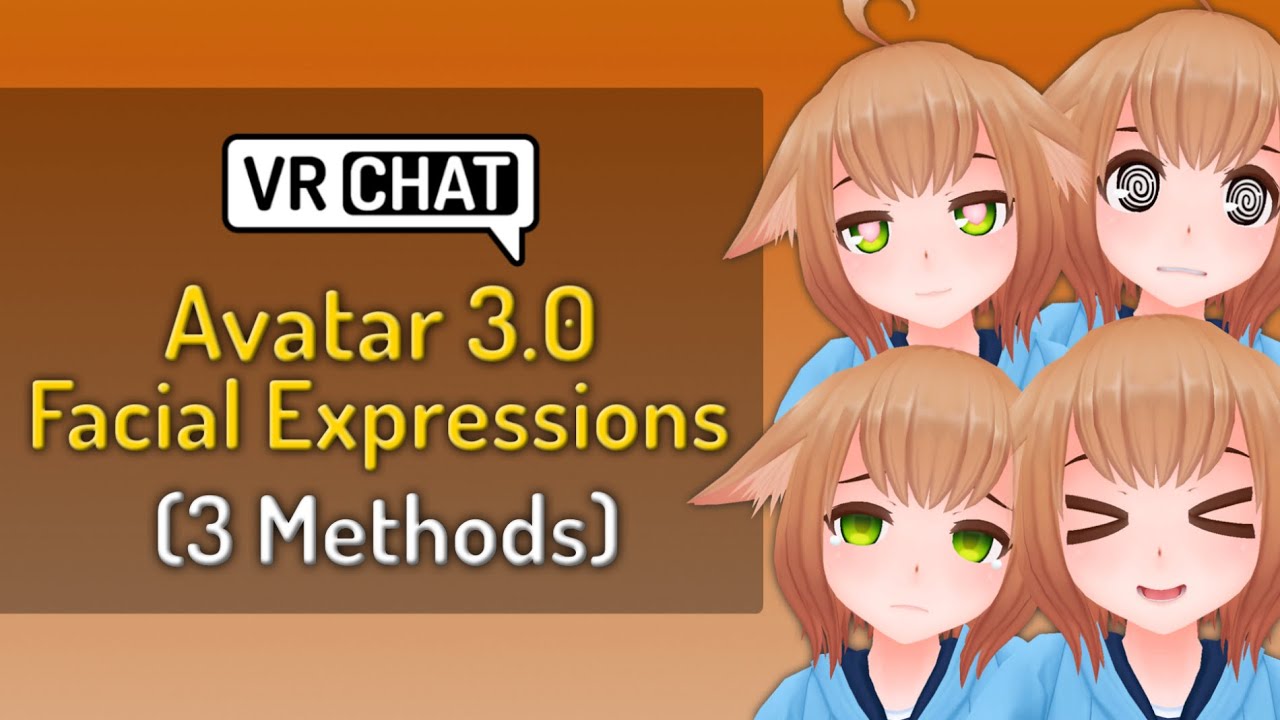
VRChat Avatar 3.0 Tutorial - Adding Facial Expressions to your Avatar
In VRChat, a fundamental aspect of interaction between players involves avatar expression. This includes allowing your avatar to display different facial expressions. Controlling your avatar's emotions has been a common method of avatar expression since the game's launch on Steam in 2017. With the recent Avatar 3.0 SDK, there are multiple ways of setting up facial expressions for your avatar. Today, I'll be showing you three ways of doing so. Let's get started.
To begin, you'll first need to make the animations for your avatar's facial expressions. This is commonly done using blend shapes, which are included on most avatars found on sites such as Booth, Gumroad, or DeviantArt. These blend shapes modify the mesh directly to form facial expressions. If your model doesn't have any blend shapes, you'll need to make your own in Blender.
To create a new animation, first duplicate your avatar. Then open the animation tab and create a new animation on that duplicate. Next, click the red record button and locate the model's face mesh. For me, it's the body as my avatar is all one mesh. Under Skinned Mesh Renderer, click the drop-down for Blend Shapes. Mix and match your blend shapes until you have your desired facial expression. Your blend shape settings should be recorded in the Animation tab.
Once you have all your facial expression animations ready, you can start applying them to your avatar. The first method we'll look at is mapping them to hand gestures. For instance, your avatar will smile if you do a peace sign.
In your project assets, go to VRC SDK > Examples 3 > Animation Controllers. Duplicate the hands layer controller and drag it to your assets folder. This will be our FX controller, so we'll name it accordingly. This example controller is intended for hand gestures, but we can repurpose it for facial expressions.
We'll have to make some changes first. Remove the avatar mask from all three layers in the controller. Then select all states, change "Right Defaults" to "On" and uncheck the "Motion Time" parameter. Finally, remove the hand gesture animations from all states. Do this for both the left and right layers.
You can now assign your animations to the states in the animator. Any states you leave blank will not play animations for that gesture. Next, in your avatar's descriptor, scroll down to "Playable Layers" and drag your FX controller into the FX field. The avatar is now ready to be published. Go to the VRC SDK control panel and select "Build and Publish".
Your avatar will now have facial expressions mapped to hand gestures.
Prerequisites Before Moving On
Before moving on to the next two methods, some prerequisites are needed. First, like before, you'll need an animator controller to act as your FX layer, but this time we'll make it from scratch. Right-click in your assets and go to Create > Animator Controller. Name it appropriately, and in your avatar's descriptor under playable layers, drag it into the FX property.
Then create a new expression parameters object and an expression menu object. You can create these by right-clicking in your assets and going to Create > VRChat > Avatars. Name them whatever you like, and at the bottom of your avatar descriptor, drag the parameters and menu objects into the respective properties.
Method 2: Action Menu Toggles
The second method is using action menu toggles to activate facial expressions. In our expression parameters, we'll create a new parameter for our facial expressions. We'll make a singular int parameter so we can easily control all our expressions with one parameter. For the sake of this tutorial, we'll be calling it "FaceInt," but you can name it whatever you like.
Next, open your FX controller and under parameters, add the int parameter you just made in your expression parameters. Be sure it is spelled the exact same way, as parameters are case-sensitive. Then under layers, create a new layer and set its weight to 1. In the layer, create an empty state. This will be our idle state. Create a transition from Any State to the idle state with the condition "FaceInt = 0".
Now drag your animations into the controller. Create a transition from Any State to each animation with the conditions value incrementing for each transition, so the first transition will equal 1, the second transition will equal 2, and so on.
In your expression menu object, create a submenu control. Then create another expression menu object and drag it into the submenu property. In this new expression menu, you will store your facial expression toggles.
Click "Add Control" and set the type to "Toggle". Set the parameter to "FaceInt" and set the value to its corresponding value in your animator. Do this for all of your remaining toggles.
After that, you should be good to go. Upload your avatar, and you can now toggle different facial expressions through the action menu.
Method 3: Puppet Menus
The third and final method of facial expressions is using puppet menus. Puppet menus can be used to blend animations by moving the thumbstick in horizontal and vertical directions. Since there are only four directions on a two-axis puppet, we'll only be using four animations max for this method. However, we also need to create an extra animation which is our avatar's default face.
To do this, duplicate your avatar and create a new animation named "Default". Click "Add Property" and go to the skin mesh renderer for your face mesh. Shift-select all blend shapes besides any you're using for visemes or eye look. Right-click and select "Add Properties". Then either delete the last set of keys or move them to "0:00:0.1," and your default animation should be ready.
In your expression parameters, you should have these two float parameters. These will be the horizontal and vertical parameters that drive the puppet menu. Additionally, create a new bool parameter which will toggle on the menu. We'll just call it "FaceBlend".
Next, open up the FX controller and under parameters, add your two float parameters and your bool parameter. Make sure they're spelled the same way as in your expression parameters. Then under layers, create a new layer and set its weight to 1. Create a new state to act as our idle state, then right-click and create a new blend tree.
Make a transition from the idle state to the blend tree with the condition "FaceBlend = true". Then make a transition back to the idle state with the condition "FaceBlend = false". Enter the blend tree and set the blend type to 2D freeform directional. Set the parameters here to your horizontal and vertical float parameters. Add five new motion fields and insert your animations. Have the default animation at (0,0) and adjust the other animations' positions accordingly.
Next, go to your expressions menu, add a new control, and name it appropriately. Set the type to "2-Axis Puppet" and set your bool parameter. Then set your horizontal and vertical float parameters.
After that, you should be good to upload your avatar. Now in your action menu, you can use your thumbstick to blend facial animations together.
So there you have it, three different ways to control your avatar's emotions with Avatar 3.0. Hopefully, this helps some of you out there in making your avatars a little more dynamic. If you need any help or would like to join my community, I now have a Discord server which I'll have linked in the description. Thank you all so much for watching, and I'll see you in the next video.
Keywords
- VRChat
- Avatar 3.0 SDK
- Facial Expressions
- Blend Shapes
- Animation Controller
- Hand Gestures
- Action Menu
- Puppet Menu
- Animator Controller
- Expression Parameters
FAQ
Q: What are blend shapes, and why are they important? A: Blend shapes are pre-made modifications of an avatar's mesh that alter its appearance. They are crucial for creating facial expressions in VRChat because they allow for a range of dynamic emotional displays.
Q: What if my avatar does not have blend shapes? A: If your avatar lacks blend shapes, you will need to create your own using Blender or another 3D modeling tool.
Q: Can I control facial expressions using hand gestures? A: Yes, one method involves mapping facial expressions to hand gestures. When you make a gesture, like a peace sign, the corresponding facial expression will be triggered.
Q: How do I create an Animation Controller for my avatar?
A: You can create an Animation Controller by right-clicking in your project assets, going to Create > Animator Controller, and then configuring it in your avatar's descriptor under playable layers.
Q: What is the difference between using toggles and puppet menus for facial expressions? A: Toggles allow you to switch between preset facial expressions using the action menu, while puppet menus enable you to blend multiple facial expressions together using a thumbstick.
Q: How many facial expressions can I map using puppet menus? A: Puppet menus allow you to map up to four different facial expressions, plus a default face, due to the four directions available on a two-axis puppet.