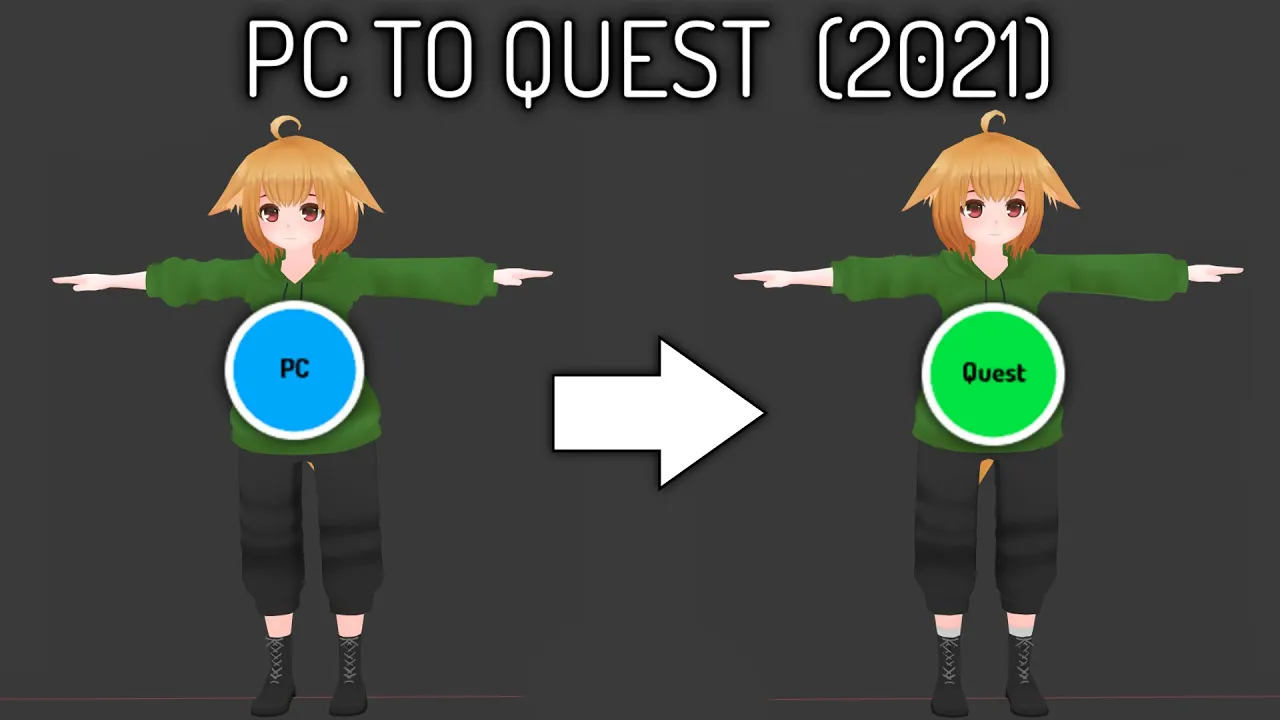
VRChat - PC to Quest Avatar Tutorial (Fallback Compatible)
Howto & Style

VRChat - PC to Quest Avatar Tutorial (Fallback Compatible)
Introduction
It's no secret that the Oculus Quest line of headsets has gained immense popularity. This surge in Quest users is highly evident within the VRChat community. More people are experiencing VRChat on the Oculus Quest daily, which might now host more active users compared to PC. While the experience on Quest is closely similar to that on PC, a significant differentiating factor is avatars.
Most VRChat creators find it cumbersome to make Quest-compatible avatars. Quest avatars need to be super-optimized to ensure smooth performance, and sadly, that takes considerable effort. Thankfully, a recent VRChat update has made this task easier.
Upgrades and New Features
- Increased Polygon Limits: The polygon limits for Quest avatars have been increased.
- **Fallback Avatars:** You can set an avatar as a fallback avatar, visible to Quest users if you're wearing a PC-only avatar. However, such avatars need to meet specific limits.
Steps to Create a Quest-Optimized Avatar
Preparations
Plugin Installation: It is highly recommended to install the cat’s blender plugin in Blender. This plugin automates a lot of processes essential for VRChat avatar creation.
Assumptions: This guide assumes you already have a PC avatar set up in Unity and possess basic Blender knowledge.
Importing Your Model
- Import your avatar model into an empty Blender scene.
- In the Cats plugin, select ‘Fix Model’: This will automatically correct some issues and apply model textures if they aren’t already there.
Removing Unnecessary Bones
- Dynamic Bones: Since VRChat does not support dynamic bones on Quest, remove bones on items like skirts and hair.
- Select Avatar’s Armature:
- Enter edit mode.
- Select the bones you want to remove.
- In the Cats plugin, select ‘Merge Weights to Parents’. Do not delete the bones directly to avoid losing weight data.
Reducing Polygon Count
Polygon Limit: Quest avatars must have less than 10,000 polygons to be used as fallback avatars.
Edge Loops Dissolution:
- Enter edit mode and convert to quads using ‘Alt + J’.
- Separate by materials using the Cats plugin.
- Select edge loops in each part and dissolve edges (use ‘X’ and select dissolve edges).
Manual Decimation:
- Add a decimate modifier.
- Reduce the ratio and then apply.
- This method is preferable on complex parts of the model.
Atlasing Textures
Quest avatars should have only one material to be ranked good or above. Use the texture atlas generator in the Cats plugin.
- Generate Material List:
- Ensure all materials are selected.
- Save the atlas in a folder within your Unity project.
Exporting and Uploading
Join all meshes and click on ‘Export Model’ in the Cats plugin.
Open Unity and switch the target build to Android.
Import your quest model and atlas:
- Set the animation type to humanoid in the import settings.
- Extract and assign a mobile shader to the materials.
Copy Avatar Descriptor and Blueprint ID:
- Ensure all components like eye bones are assigned correctly.
- Attach the Blueprint ID to the pipeline manager on your Quest model.
Upload your Quest Avatar:
- Ensure it's optimized to be good or excellent to be set as a fallback avatar.
- Check the box to upload your fallback avatar during the upload process.
Keywords
- Oculus Quest
- VRChat
- Avatars
- Cat's Blender Plugin
- Unity
- Fallback Avatars
- Optimization
- Blender
FAQ
Q1: Why do Quest avatars need to be optimized? A1: Quest avatars need to be super-optimized to ensure smooth performance on the hardware-constrained Quest platform.
Q2: What is a fallback avatar in VRChat? A2: A fallback avatar is what Quest users will see if you're wearing a PC-only avatar. These avatars must meet specific performance limits.
Q3: How can I reduce the polygon count for my Quest avatar? A3: Polygon count can be reduced by dissolving edge loops and using manual decimation methods in Blender.
Q4: Why should I use the Cat's Blender Plugin? A4: The Cat’s Blender Plugin automates many steps required for VRChat avatar creation, making the process significantly easier.
Q5: How do I atlas my textures? A5: You can use the texture atlas generator in the Cat’s Blender Plugin to combine all materials into one, essential for Quest avatar optimization.
Q6: What shader should I use for my Quest avatar materials? A6: You should use one of the provided VRChat mobile shaders like ‘Toon Lit’ to ensure compatibility and performance.
With these steps, you should be able to create a Quest-optimized version of your avatar, ensuring a better representation for Quest users. Happy creating!

