YOLOv8 Object Detection Tutorial for Beginners | Real-Time AI with Python & OpenCV
Science & Technology

Introduction
Welcome back to the channel! Today, we're diving into object detection using the YOLOv8 model. YOLO stands for "You Only Look Once," and it's a highly accurate model perfect for our task. We will utilize a pre-trained model, so there's no need for extensive training on our part. Our demo will involve testing a static image, as well as running a detection via a webcam stream.
Setting Up the Environment
First, let's initialize our coding environment.
We will open Visual Studio Code (VS Code) and create a virtual environment. It's essential to have a virtual environment to keep our project dependencies organized and isolated.
Create a folder structure for your project. Resize the screen if needed for a better view.
Open the terminal in VS Code and execute the command:
python -m venv your_environment_nameReplace
your_environment_namewith a name of your choice.Activate your virtual environment with the following command:
source your_environment_name/bin/activateYou should see the name of your active environment on the terminal prompt.
Next, install the required libraries. Initially, you might encounter an error while trying to install due to an outdated version of
pip. If that happens, upgradepipusing:python -m pip install --upgrade pipNow, install the other necessary packages:
pip install ultralytics opencv-python
Detecting Objects in a Static Image
Once all the packages are installed, we’ll create a Python script to process an image. Here’s how to do it:
Start by importing the image you wish to analyze for object detection.
Import the YOLO model from
ultralytics. We'll specify the model we want to use, which will download the model file if it's not already available.[from ultralytics import YOLO](https://www.topview.ai/blog/detail/cifar-10-image-classification-using-ultralytics-yolov8)Choose the filename of the image you want to analyze and specify it in the YOLO model to perform detection. For instance:
model = YOLO('yolov8s.pt')
results = model.predict(source='path_to_your_image', save=True)
Here,
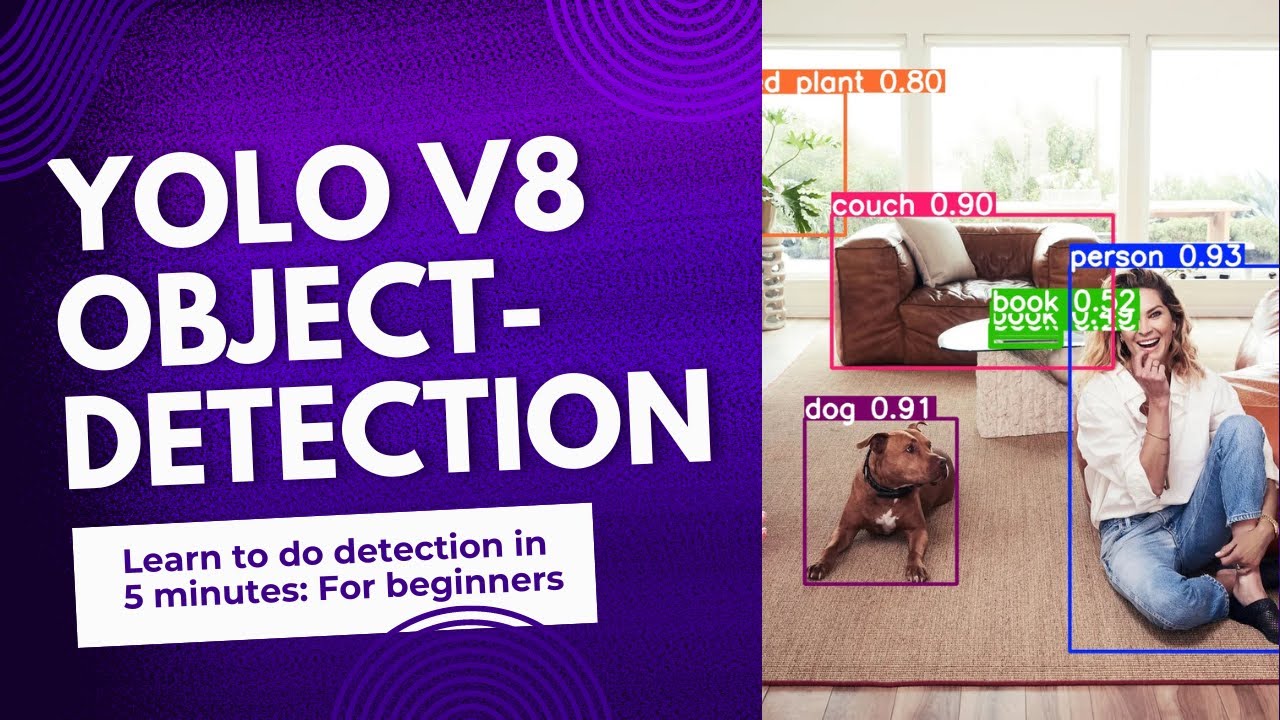
path_to_your_imageshould be the path to your image file.After running the code, you should find an output image where the model has annotated detected objects like people, dogs, couches, and more.
Live Webcam Detection
Now that we've covered detecting static images, let's move on to detecting objects in real-time using a webcam.
Create a new Python file and start by importing the necessary libraries: OpenCV for capturing video and
ultralyticsfor the YOLO model.import cv2 from ultralytics import YOLOInitialize the webcam video capture:
cap = cv2.VideoCapture(0)You may need to change the index if your computer has multiple cameras.
Implement a while loop to continuously capture frames from the webcam and detect objects in real-time. Here’s the basic structure:
while True:
    ret, frame = cap.read()
    if not ret:
        print("Error reading frame")
        break

    results = model(frame)
    annotated_frame = results[0].plot()
    cv2.imshow('YOLO Inference', annotated_frame)

    if cv2.waitKey(1) & 0xFF == 27:  # ESC key to exit
        break
At the end of the loop, ensure you release resources properly:
cap.release()
cv2.destroyAllWindows()
Conclusion
In summary, this code utilizes OpenCV to capture video from a webcam while employing YOLOv8 for real-time object detection. For each frame, the YOLO model detects objects and annotates the frame before displaying the results. You can see how effectively it identifies various objects within the scene.
Thank you for following along! I hope this tutorial helps you get started with simple object detection using Python and OpenCV. If you enjoyed this content, please consider subscribing to our channel and giving the video a thumbs up!
Keywords
- YOLOv8
- Object Detection
- Python
- OpenCV
- Real-Time AI
- Virtual Environment
- Image Processing
- Webcam
FAQ
Q1: What is YOLOv8?
A1: YOLOv8 is an advanced version of the "You Only Look Once" object detection algorithm, known for its speed and accuracy.
Q2: Why should I use a virtual environment?
A2: A virtual environment helps isolate project dependencies, ensuring that libraries installed for one project do not interfere with others.
Q3: Can I use YOLOv8 on other images?
A3: Yes, you can specify any valid image path in the model’s predict function to perform object detection on different images.
Q4: How do I stop the webcam stream?
A4: You can stop the stream by pressing the 'Escape' key on your keyboard while the webcam is active.
Q5: What should I do if I encounter an error?
A5: Ensure all libraries are installed correctly, check your image paths, and verify that your webcam is functioning properly.

